Looking to learn how to make a 404 page for your WordPress website?
You're on the right page.
A 404 page isn't just about telling visitors they've hit a dead-end. It's a key part of your site's user experience, turning potential frustration into a positive interaction.
However, a default or poorly-crafted 404 page can be a missed opportunity. It might even drive your visitors away for good.
We certainly don't want that. That's why we've put together this comprehensive guide.
Read on to learn how to craft a custom 404 page that not only resonates with your WordPress site's style but also keeps your visitors engaged.
What is a 404 Page & Why Does It Matter?
Have you ever clicked on a link or searched for a site and come across a “Page Not Found” page?
That’s a typical 404 page.
A 404 error page has 3 main purposes:
- Letting visitors know the page they were looking for is missing or moved.
- Giving website owners feedback as to missing pages or broken links via tools like Google Search Console.
- Telling search engines that a page doesn't exist
404 pages can appear as a result of mistyped URLs, content being moved to a new URL, a change in permalink structure, or broken linking.
These pages serve an important purpose – they let your visitors know they’ve come to the wrong place. But this isn’t enough.
Your 404 WordPress page should guide users back to relevant parts of your website, to reduce frustration and confusion.
A custom 404 page, especially one that includes navigation options like search bars, or links to popular content, can encourage your site visitors to continue browsing your site, resulting in lower bounce rates – and potentially increasing conversions.
How to Create a Conversion Focused WordPress 404 Page(Step-by-Step)
Most themes and page builders on WordPress.org (e.g. Thrive Theme Builder, SeedProd, Elementor, etc.) provide 404 page templates you can use as is or customize to increase engagement.
This is ideal for non-technical users who might not know how to work with a 404.php file, for example.
We’ve written this tutorial walks you through creating the perfect 404 page for your website using Thrive Theme Builder — no need to download a separate 404 page plugin or learn HTML or CSS.
1. Download & Install Thrive Theme Builder
If you want to get your website design done in 30 minutes (or even less), this is the plugin for you.
This WordPress plugin (and theme) is designed to help you create a unique, custom WordPress theme – without needing to code.
Thrive Theme Builder is designed to help you:
Easily build and customize every aspect of your WordPress site using our theme editor — no need to create separate child themes
Create a stunning color scheme for your website – in one click
Build a clean, SEO-friendly website design with our library of professionally designed templates
Create and customize header, footer, dropdown menus, and sidebar templates to match what you envisioned for your user-friendly website
Enhance your website’s functionality by integrating with any other Thrive product, or the most popular marketing tools
… and so much more
When you purchase Thrive Theme Builder, you also get access to a selection of premium theme templates – all perfect for creating a WordPress site.
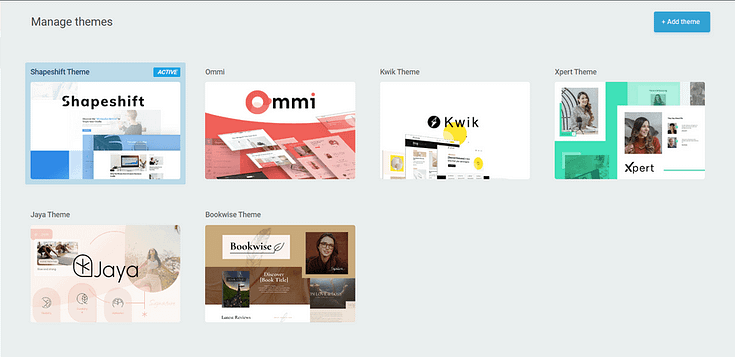
Theme template sets in Thrive Theme Builder
To get started, you’ll need to set up your WordPress hosting, activate WordPress, and install Thrive Theme Builder.
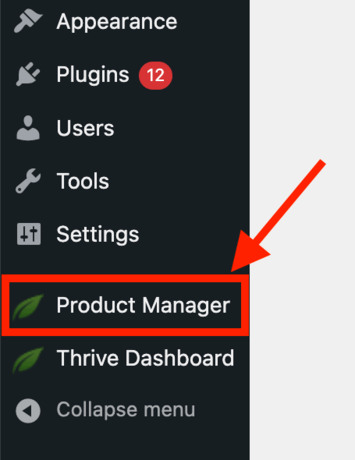
Search for Thrive Product Manager in the WordPress Admin Dashboard.
Next, click on “Thrive Theme Builder” in the WordPress dashboard and wait for it to load. Once the Thrive Theme Builder dashboard is open, you need to select a theme.
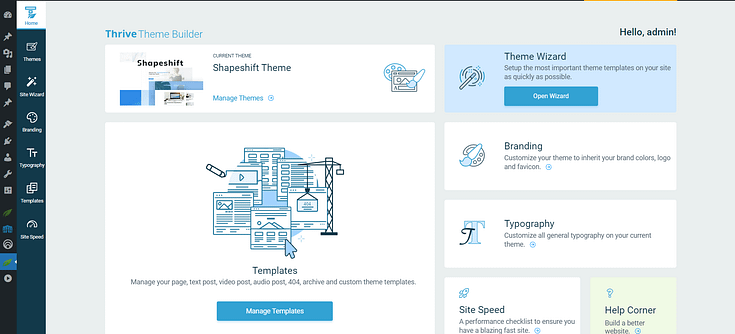
Each theme comes with a pre-designed 404-page design that you can customize in Thrive Theme Builder’s drag-and-drop visual editor.
In this tutorial, we’ve selected ShapeShift, a sleek theme that works for coaching and consulting websites, as well as businesses in other niches. But you’re free to choose a different theme.
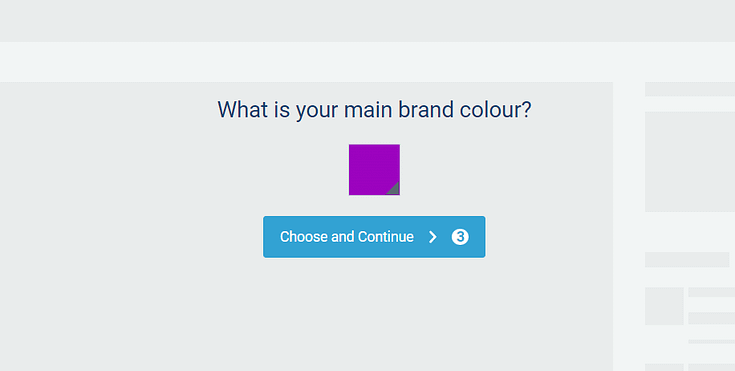
Once you’ve made your choice, select a main brand color in the Thrive Theme Builder Setup Wizard, or in the Branding tab.
2. Access the “Templates” Section in Thrive Theme Builder
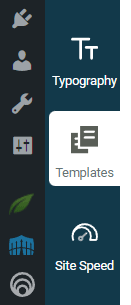
After you’ve chosen a theme and main brand color, select the “Templates” tab in the Thrive Theme Builder dashboard.
This is where all your core page templates live – homepage, blog post template, blog post list template, and more.
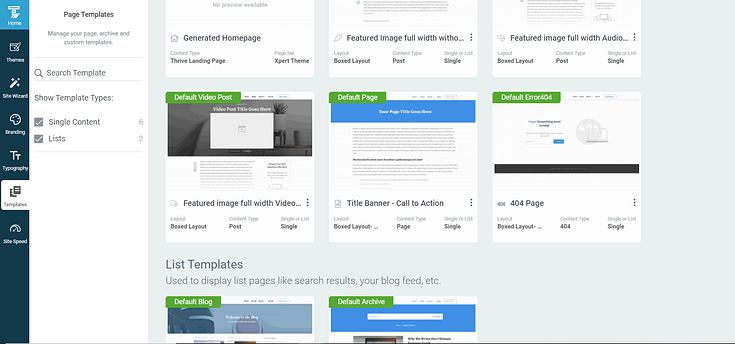
Core page templates in Thrive Theme Builder
Scroll down until you find your Default Error 404 page. This is where you’re going to make your own, custom new page.
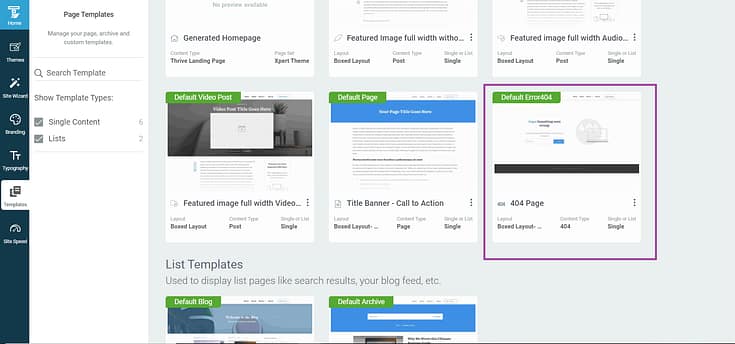
Since this is a default page, you don’t need to give it a page title. It already has one —”Error 404” or “Found Error”.
Click “Edit” and wait for the template to load in Thrive Theme Builder’s visual editor.
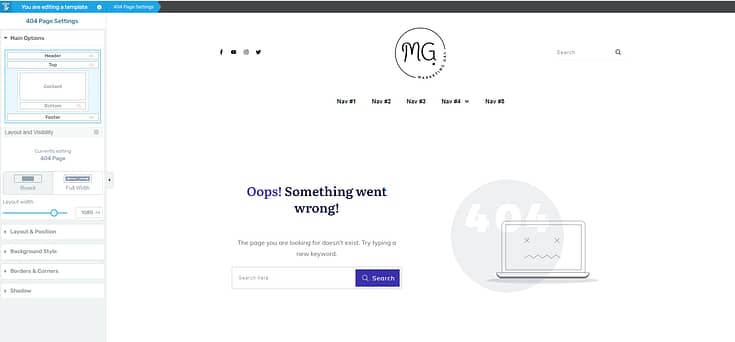
As you can see, Thrive Theme Builder’s 404 template includes the crucial elements a 404 page should have:
A clear “Error 404 not found” message indicating something’s gone wrong and the visitor has landed on the wrong page
A search box the visitor can use to enter a different keyword to find the right page
This page template is good. It covers the basics and has a nice design.
But how can we make it better?
3. Customize Your Design
The standard 404 templates work just fine.
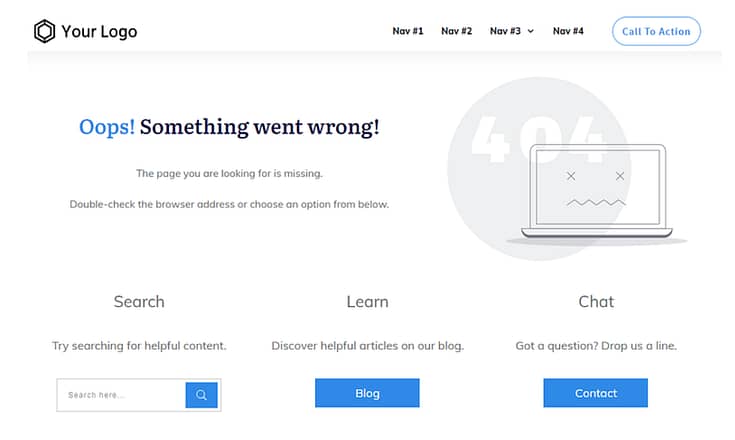
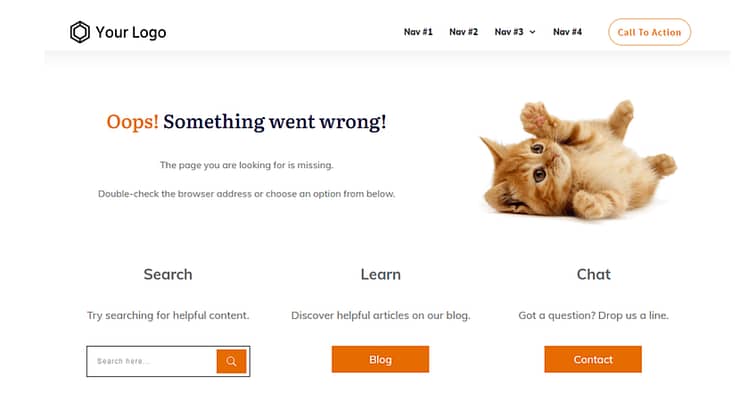
But if you want your 404 page to direct your visitors to popular posts or pages where they can interact with your page content and eventually convert, you’ll need to customize the page.
For example, you can use the column, text, and button elements in the visual editor to create several call to action sections on your page.
Something like this:
Or this:
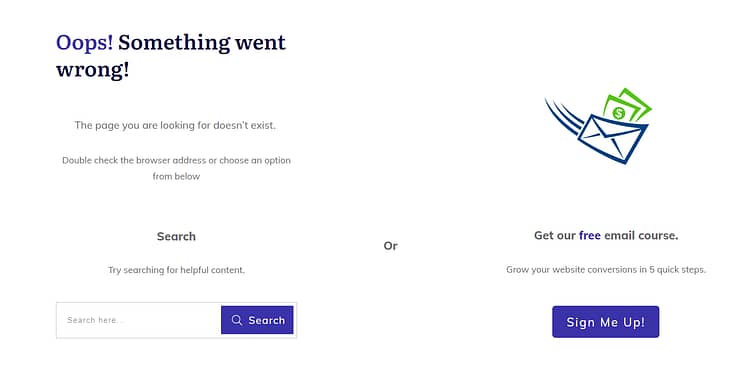
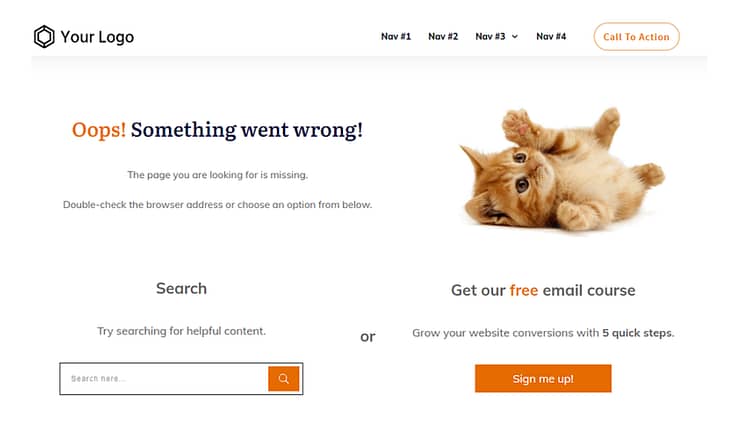
You can use also use the visual editor to turn your 404 page into a lead-generation opportunity.
Just like this example here:
Or here:
If your website doubles up as an online store, you can add a CTA to check out your best-performing WooCommerce products (or any other eCommerce
plugin).
Your options are endless.
In less than 30 minutes, you can create a professional 404 page that helps lost visitors discover new content and stay on your website.
Next Steps: Connect Your 404 Page to Your Email Marketing Service
In the above example, I added a link to an opt-in page – you might choose to embed an opt-in form directly into the 404 page with an eye-catching call-to-action box.
This could be a better solution and increase the chances of getting your visitors to take immediate action.
The Thrive Visual Editor has a variety of opt-in forms you can add to your 404 page.
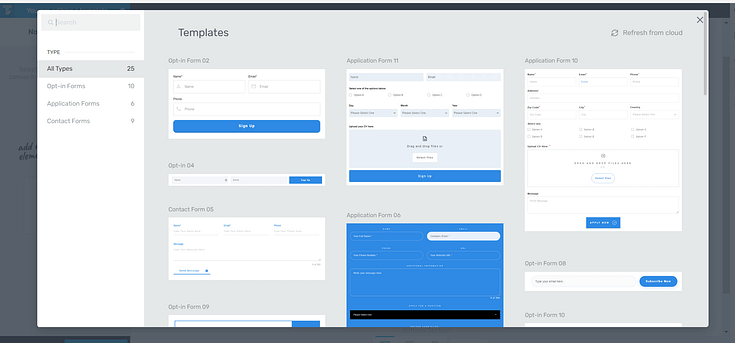
Form templates in Thrive Theme Builder
Select the best one that matches your 404 page and connect your form to your email marketing service through the Thrive API.
In case you need ideas or more information on creating a successful lead-generation offer or funnel, here are four useful tutorials:
- How to Set Up a Complete Lead Generation Funnel
- How to Improve Your Opt-In Form Conversion Rates
- Build Your Email List Faster with Gated Content
- Beginner's Guide: How to Create a Great Landing Page
How to Make a 404 Page in WordPress: Final Words
And now you know how to create a great custom 404 page for your WordPress website.
Instead of being greeted by a plain, unhelpful page, your visitors will encounter a visually impressive space that gives them actionable information on what to do next on your website.
All this was possible with one plugin: Thrive Theme Builder. If you want to make the rest of your webpages custom and conversion-focused, then you should take a look at Thrive Architect, too.
Together, Thrive Theme Builder and Thrive Architect are an amazing website-building duo.
After you’ve created your custom web design in Thrive Theme Builder, hop in and use Thrive Architect to customize your pages and turn them into engaging, conversion-generating spaces.
All you need to do is drag and drop design elements into pre-built landing page templates, save them, and hit publish once you’re good and happy.
You can purchase Thrive Theme Builder and Thrive Architect as a bundle, or with 8 other premium plugins if you buy Thrive Suite.


